Energy Savings Calculator
0203 193 8888


0203 193 8888
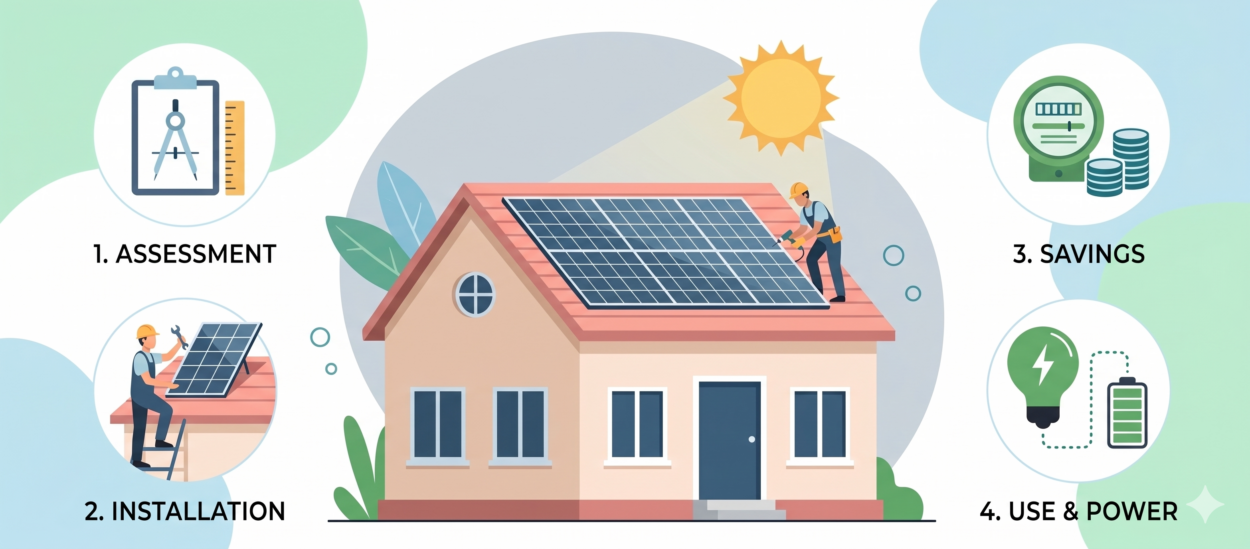
Installing solar panels might seem complex, but with the right installer most of the process is handled for you.
Here, we will explain the process and show that, while there may be some disruption during the physical installation, it is a relatively simple process from beginning to end. Want to know if your home is suitable? Book a free site assessment with The Solar Co and we’ll take care of everything from survey to switch-on.
Before choosing an installer, it helps to know whether your home is suitable. In most cases the answer is an immediate yes. You should however ask yourself the following questions:
Bearing in mind that the initial survey will cost you nothing, you can ask the surveyor if you have any doubts. Most roofs are suitable for solar panels so this should just be a formality.
Choose the right installer and the rest of the process will be a breeze. You do need to do a bit of legwork yourself from time to time, but most of it will be handled by the team, as we explain in the nine-step process below:
As with any major structural work on your home, you should always get a few quotes to choose the best.
You should have an idea as to why you want a solar array. This might be any or all of the following:
Get quotes from at least three MCS-certified installers. Check their credentials at mcscertified.com before you commit, and do a bit of due diligence by checking online reviews. Don’t just assess the quotes on price – but on system design, panel quality, warranties, and aftercare. A more expensive quote may be worth it thanks to the installer ticking other boxes in your selection process.
Depending on how many quotes you gather, this can take a week or two.
Once you have chosen the right team to work with, a qualified surveyor will visit the property to:
The surveyor will also confirm whether any planning permissions, or additional structural checks are required. This stage typically takes one to two weeks, including system design and quote finalisation.
In most cases the solar array will be considered ‘permitted development’ and require no planning consent whatsoever. Your installer will confirm this with you. There are a few exceptions that might cover your home:
In all other cases, no planning application is needed. Your installer will confirm the position with you.
This is a major reason to choose an MCS-certified installer. Dealing with the Distribution Network Operator (DNO) is a bit of bureaucracy that will be entirely handled by them.
There are two routes, with one taking a bit longer than the other to arrange:
With most solar systems in the 4-5kWp range, you can see that it’s most likely that you will have to go down the G99 route, which takes longer than the G98.
Now the survey, any planning consent and the DNO approval is in place, you need to prepare for installation day. Before the team arrives you need to make space for them to work:
You will be given a checklist of things to prepare ahead of the installation.
This can take 1-3 days, depending on the system size and complexity of the job. The typical sequence is:
Be aware that there may be an odd period of time when electricity is switched off. Otherwise, the work should be as non-disruptive to your day as possible.
As with all major electrical installations, after it has been put in, there is a testing and commissioning process that may take a few hours. This involves:
At this stage the installer will walk you through the system, how to monitor output and answer any questions.
Now this is complete, the installer should give you a full handover pack that will include:
You should keep the MCS certificate permanently — it is required for SEG registration, future battery upgrades, and property conveyancing if you sell your home.
The final bit is for you to do – registering for the Smart Export Guarantee. This scheme enables you to sell excess electricity you generate to the grid. To do this:
The rates you sell your electricity for range from £0.04 to £0.15 per kWh. It is a reasonably competitive market so it pays to go for the best export tariff out there. If you export 50kWh on a sunny day and you’re making 15p/kWh, that’s £7.50 off your bill. This soon mounts up over the year.
The table below shows how long it takes from end to end:
| Stage | Typical Duration | Notes |
| Research and quotes | 1–4 weeks | Depends on how many quotes are gathered |
| Site survey and system design | 1–2 weeks | Includes final quote sign-off |
| DNO notification / G99 approval | 2–8 weeks | G99 systems only; G98 is notify after install |
| Scheduling and scaffolding | 1–2 weeks | Depends on installer availability |
| Installation | 1–3 days | Most homes completed in 1–2 days |
| Commissioning and handover | Same day | Includes system walkthrough and documentation |
| SEG registration | 1–2 weeks | Requires smart meter and MCS certificate |
From initial enquiry to a live, generating system, it takes between 6-12 weeks — largely depending on DNO approval timelines and installer availability. If you start looking for an installer in March there’s every reason to believe you’ll have your solar array fully installed by June. Ready to get started? Get a free, no-obligation quote from The Solar Co and we’ll design a system tailored to your home, your roof, and your energy goals.
In another article The Solar Co explains the costs in detail but broadly:
As this system is integrated into your mains electricity, it’s best to use an MCS-certified installer..
Such an installation can ensure:
The Solar Co’s team of MCS-certified installers manages every step of the process, from survey and design through to commissioning, handover, and SEG registration.
Do I need planning permission for solar panels?
Not usually. Most UK homes can install solar panels under permitted development rights. Exceptions apply for listed buildings, conservation areas, and some leasehold properties. Your installer will confirm the position for your home during the initial survey.
How long does solar panel installation take?
The physical installation typically takes one to three days. From initial enquiry to a live system, the total process usually takes six to twelve weeks, depending on DNO approval timelines and installer availability.
What happens if my roof isn’t south-facing?
Southeast, southwest, and even east/west-facing roofs can still generate strong returns. Only north-facing roofs are generally not recommended. Your installer will model the expected output for your specific roof during the survey.
Will I need scaffolding?
Yes, in most cases. Scaffolding is required for safe roof access and is typically erected the day before the main installation. The cost is usually included in your installation quote.
What is an MCS certificate and do I need one?
The MCS (Microgeneration Certification Scheme) certificate is issued by your installer after the system is commissioned. It is your proof that the installation meets the required quality standard, and it is required for Smart Export Guarantee registration, property sale documentation, and future battery upgrades. Always ask to see your installer’s MCS credentials before signing a contract.
Can I add a battery later?
Yes. Many homeowners start with panels and add battery storage later. Keep all installation paperwork, as it will be needed when certifying and notifying the DNO about the upgrade.
Installing solar panels is a well-structured, manageable process — and with the right installer, most of the technical and administrative steps are handled on your behalf. From your first survey to the moment your system starts generating clean electricity, The Solar Co is with you at every stage. If you’re ready to find out what solar could do for your home, get in touch with our team today for a free, no-obligation assessment.
Back to Blog